

Key Highlights
- Learn the essential components of a deck frame, including joist hangers, ledger board, rim joist, support posts, and deck joists.
- Understand how to ensure structural integrity while laying out and constructing your deck’s substructure.
- Discover tools and materials needed for framing, like treated lumber, chalk line, joist tape, and deck screws.
- Explore the importance of proper joist spacing to build a strong and stable foundation.
- Gain insight into safety practices, including compliance with permits and codes to protect against frost line issues.
With these highlights in mind, let’s dive into how to construct a durable deck frame.
Introduction
Building a deck frame is a key step if you want a great outdoor area. The frame is what gives strength and support. That way, your deck can last many years and still stay strong. No matter if you use your deck for hanging out, relaxing, or making your home worth more, it always starts with a good base. With the right help and tools, building a deck frame is something anyone can learn to do. At this deck building resource center, you will get easy tips and clear steps. These will help you build the perfect deck frame with good structural integrity.
Understanding the Basics of Deck Framing
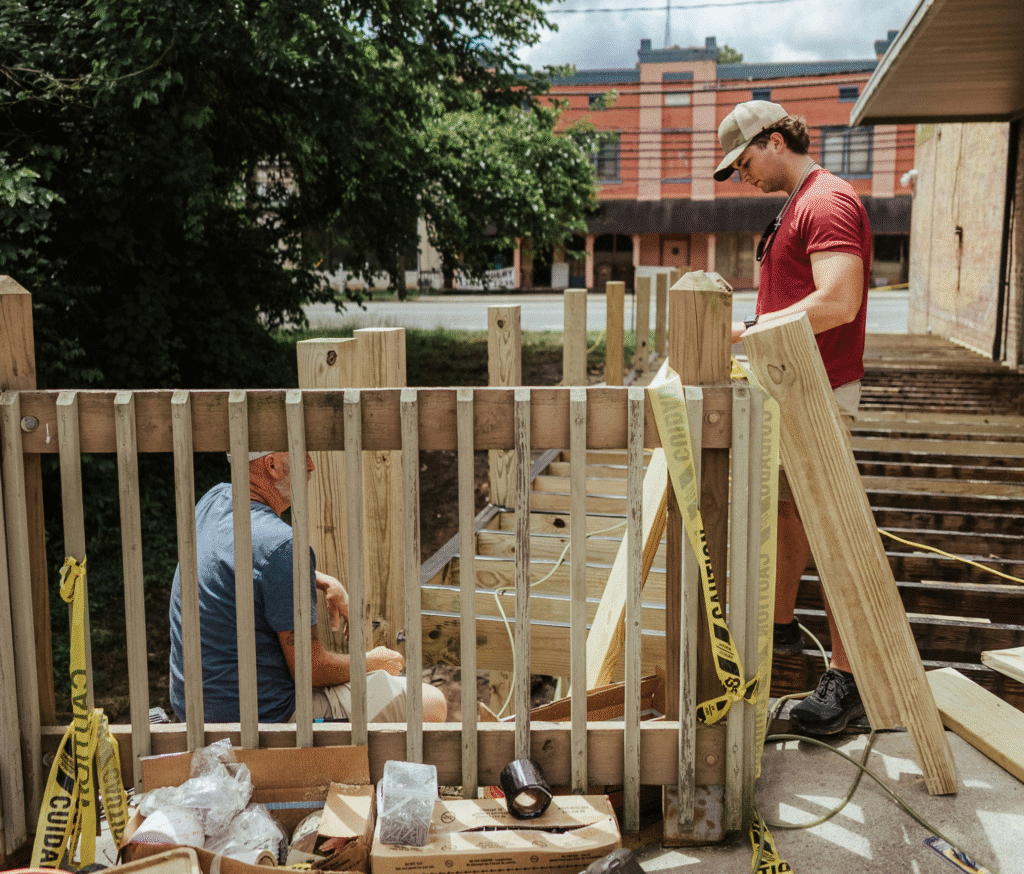
Framing a deck means you must pay close attention to every detail and know about all the main parts. The substructure is also called the deck frame. It is made with the rim joist and other joists. These joists form the perimeter and give support under the deck surface.
This structure acts as the main support for your outdoor space. If you pick the right layout and use the right materials, the deck frame should hold up well against the weather and still be stable. Now, let’s talk about what the deck frame is and what main parts it has.
What is a Deck Frame?
A deck frame is the base that holds the deck surface steady. It gives the deck the strength to hold things on top, like chairs, tables, people hanging out, and maybe even a pool extension.
You start building with framing members such as joists, rim joists, and support beams. These parts make up the perimeter of the deck. They spread the weight to keep everything strong and safe on the deck. No matter the size of your deck, the framing will connect posts, beams, and joists together to build a solid network.
The deck frame works behind the scenes, but it is one of the most important parts of decking. Without this, the decking boards on top would not be level or stay put. This part of the build needs careful work and good materials so the deck will last a long time. Now, we will look at the key components that build up the deck frame.
Key Components of a Deck Frame
A deck frame is made up of several important parts:
- Joist hangers: These are metal hangers. They hold the joists in place against the beams or the ledger board.
- Ledger board: This board attaches to your house. It helps anchor the deck frame and gives support to the joists.
- Rim joist: This board goes all around the perimeter of the deck. It connects the ends of all the joists together and helps the frame keep its shape.
- Deck joists: These boards run side by side and make a strong base for the decking boards to go on top.
- Support posts: These are upright beams. Their job is to take the load of the deck and send it down to the ground.
- Blocking and bracing: These pieces fit between the joists. They stop the joists from moving around or twisting.
Each part is needed for the deck frame to be safe and steady. Now, let’s talk about how to plan and build your own deck frame.
Planning Your Deck Frame Project
Proper planning is very important when you build a good deck frame. You need to pick the layout and think about how the deck will look in the end. Every thing in the process matters. You should decide where the perimeter of the deck will be, and also if you want the deck to sit close to the ground or be a freestanding one.
If you plan ahead, the work will be easier for you. You can stop mistakes with where you put the deck or with the measurements. Up next, we will talk about how to choose the best spot for your deck. We will also cover how to stick to the codes, which will help the project be both safe and done the right way.
Choosing the Right Location and Size
Picking the right location for your deck is very important. Think about if you want the deck to be attached to your house or if you want it to be free standing. Take a look at the ground where you plan to build. If the area has a slope, there may be a need for more support because of the ground contact.
The size of the deck has to match the space you have and fit well with the aesthetics of your deck. Clearly mark the perimeter where you want your deck. Make sure you set the correct height so that it lines up with your doors or anything already built.
Also, you should always remember how you want to use your deck. Think about if you want to eat outside, cook on the grill, or just relax. These things should help you make choices about your deck. Now, it is important to talk about why permits and codes in the U.S. matter so much.
Permits, Codes, and Safety Considerations in the U.S.
Following permits and codes makes sure your deck is safe, good to use, and fits with the rules. Always look at your local building regulations for the frost line. This is important, especially for support posts and footings.
Structural integrity matters a lot. Make sure to use good fastening methods, like lag screws or anchors, to hold every part in place. You should also check for safety steps that help stop problems like uplift or rot.
Talk to your local building authority to see what permits you need for your deck project. When you get this information ahead of time, you can stop delays and have a smooth building process.
Beginner’s Guide to Building a Deck Frame
If you are building a deck frame for the first time, it can look hard. But if you use a step-by-step plan and the right materials, you can do it. A good deck building resource center will give you templates and helpful tips for framing.
This part will go over the tools, materials, and ways to start framing that are good for people who are new to this kind of work. Let’s look at what you need to get going and have your framing come out well.
Essential Tools and Materials You’ll Need
Getting the right tools and supplies ready will save you time and help you avoid mistakes. Make sure you have these items before you begin:
- Circular saw: Use this saw for clean cuts when you work with framing members.
- Structural screws: These screws are good for strong fastening of joists and beams.
- Deck screws: They be used to fix decking boards onto your joists.
- Treated lumber: This type of lumber is made to stand up to rot and moisture and will make your deck framing last longer.
- Joist tape: Put this on the joist to keep out water and help your framing last for many years.
- Chalk line: The chalk line will help you get clear and even measurements.
When you have all these tools and materials for your deck frame, you can get to work. Now, we will look at how to pick the best lumber for your framing and decking project.
Selecting Pressure-Treated Lumber for Longevity
Choosing pressure-treated lumber helps keep away rot and moisture. You can get this lumber in a few types, and each one fits different needs:
| Treatment Type | Usage |
|---|---|
| Light Duty | Good for areas that are above ground. |
| Ground Contact | Use this where lumber sits right on soil or concrete. |
| Heavy Duty | Best for places with lots of water or tough weather. |
Make sure to pick lumber that has clear labelling, so you know it matches your job. For example, if you see black end tabs on hardwood, this shows it is the right kind for ground contact. Using treated lumber with good quality makes your deck last longer and stand up to any kind of condition, from moisture to rot.
Step-by-Step Guide to Building a Deck Frame
Building a deck frame starts with making sure you measure well, put everything together right, and always keep safety in mind. You need to get the spot ready, lay out the joist spacing, and follow every step as you go. Each part of the process helps make the finished deck strong.
Let’s start by marking out the area for your deck, then move on to the steps that are needed to build it.
Step 1: Preparing and Marking the Site
Make sure the ground level is clear and flat. Put down landscape fabric on the area to stop weeds from growing. Add a layer of gravel under the spots where you will place footings. The gravel helps water move away.
Set the perimeter by using stakes and a chalk line. This way, your layout stays square and in the right shape. Check your measurements two times so you do not make a mistake before digging the holes for the footings.
After you mark the site, you can start putting in the footings and support posts.
Step 2: Installing Footings and Support Posts
Footings are important because they help stop the ground from moving. You need to dig holes below the frost line, then pour concrete into each one. Use anchors so that the support posts stay in place and do not move.
Make sure all posts are level and lined up right. You can use string lines to help with this. Slope the concrete a bit so water does not gather there. Once you finish the footings, you can start to add the beams and the ledger board.
Step 3: Attaching Ledger Board and Beams
Attach the ledger board to your house with lag screws and washers. This will make a strong area for the joist to rest on. Put the beams in the center above the support posts. This helps spread the weight out so it does not sit in one place.
Check for a crown in each beam and make sure it faces the right way. Use screws or nails to hold the beams together tightly. Make sure the top of the beam is flat. This is needed for placing each joist. After this, find out how to fix the joists in the best way.
Step 4: Laying Out and Securing Joists
Position the deck joists at even spaces by following the right joist spacing. If you need to install them on a beam or ledger board, use joist hangers. Fix the joists using deck screws or nails on each end.
To stop joists from twisting when used, add blocking and bracing. Fix a rim joist around the edge to support the perimeter and help keep your deck frame square. Now, your deck frame is almost ready and you can start adding the decking boards.
Conclusion
Building a deck frame can be a fun and useful project. It helps improve your outdoor space and brings joy to you and your family for a long time. When you follow the step-by-step guide from this blog, you can build a strong and steady frame for your deck. Always keep safety in mind. Follow local building codes and use the right materials. It does not matter if you are new to this or have done it before; planning ahead and taking care with each step will help your deck frame last and fit your needs. Enjoy building! If you need more help, you can always ask for guidance.
Frequently Asked Questions
What size lumber should I use for deck framing?
Most people use 2×8 or 2×10 framing boards for deck joists. 2×12 lumber is often picked for beams or rim joists. The spacing of joists is important—it helps decide the size of lumber to use. When joist spacing is closer, you can use smaller boards for framing.
How do I keep my deck frame level and square?
Use a chalk line to help you mark a straight line for your measurements. Make sure everything lines up by using a speed square and a level tool. If something is not right, use shims or move the beams until the perimeter is square and fits well.
Can I build a deck frame directly on the ground?
Yes, you can build at ground level. But you have to use treated lumber to stop rot. Put gravel below the frame so water can drain out. If you need, you can go for a freestanding style. This way, the ground level, treated lumber, lumber, rot, and gravel are all taken care of.
How do I protect my deck frame from moisture and rot?
Use joist tape to keep out moisture. Wrap the tape around the ends. Put it across each joist and beam. Use treated lumber for better protection. Put gravel around posts. This will help water drain away from the lumber and posts.